Tuesday, February 19, 2013

Valentine’s day Calendar

I finally found a way to surprise my hubby: Just don’t think of it until the night before. Then everyone gets surprised!

Well, the night before Valentine’s day I thought of making Joel a new large wall calendar.

IMG_5337

His work one we made him many years back was growing a bit old and was on the small size.

IMG_5341[1]

(No he isn’t into math like crazy, those are one of our workers who used to be a math teacher!)

For a while we had used electrical tape we’d cut down for the lines but about a year ago he took those off…I know, yuck.

I had checked into boards like these, but they run around $50.

No. Thank. You

Really want something like this someday - - large dry erase calendar (almost 5'x5'). Functional, but also a great statement piece for the wall.

By chance I heard my hubby tell our bro in law last Saturday that one can get a wall covering that is a white erase board.

So using this as inspiration:What a great way to get organized and schedule your family activities at home or important tasks at work. Chalkboard wall calendar. Write and erase your weekly plans and important dates. Keep organized with this chalkboard vinyl decal and large To do list area. Calendar wall decal is easy to write on and erase with Chalk.

And this one where a lady painted the whole wall in her narrow hallway:

Chalkboard Calendar. If you have a large blank wall in your office or anywhere a GIANT calendar would be useful... HOW awesome would this be?!? Imagine what you could plan?!? You could paint it with MAGNETIC CHALKBOARD PAINT! ( only I would like to do this chalkboard vinyl and dry erase markers - I'm a bit 'over' the chalkboard craze aka DUST)

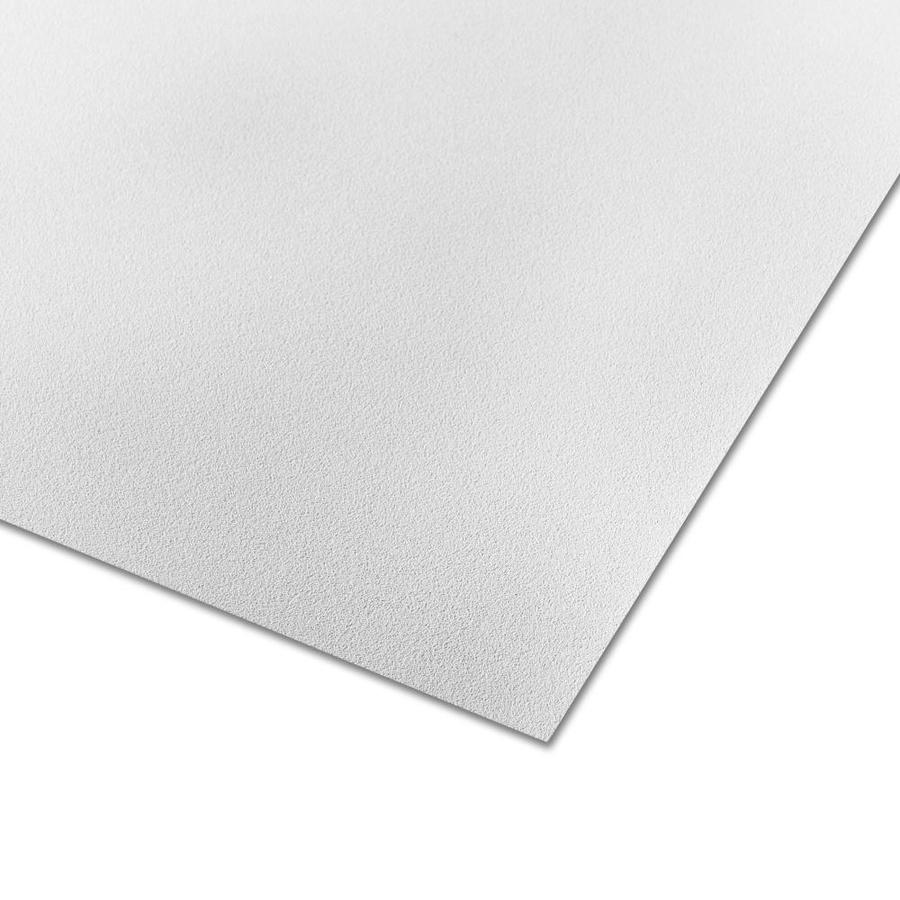
I found the board the hubby had talked about at Lowes.It was really cheap ($11) for a huge sheet of White/Gloss Hardboard Wall Panel. I took a marker with me to make sure it would work as white board. In hind sight that could have turned out really bad if it hadn’t worked!!! Lol!

The guy who came to my aid at Lowes instantly regretted it when I told him I needed 36 squares. It was 7:30 in the morning. Maybe he was still waking up and I misunderstood his look.

He cut a great 8x8 squares for me and then I dug through the garage for tools to drill holes. I finally found drill bit that worked and drilled away! My idea was to make a calendar that the day’s could easily be removed and written on then hung back up. So the nail holes needed to be large enough to not get caught up.

IMG_5338

I got a circle punch from Hobby Lobby and used a coupon so it cost only $9. I punched black circles out and then cut the numbers out of white paper. Then I laminated them by hand using clear laminate. then stuck them on with sticky tack.

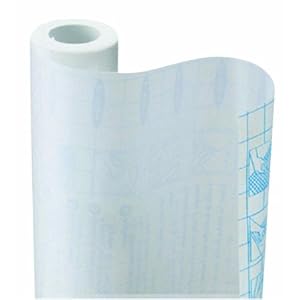
I use this stuff all the time. It works for labels and covering books. It is the best!


I used it to cover the days of the week as well.

IMG_5339

Finally, my creation complete!

IMG_5337


Tuesday, February 5, 2013

Thrifting for the family


“You find such GREAT deals!”

I hear this a lot. Do you? When pointing out my $6 kid rug ($30 at Target), or $5 Roman curtains (who knows how much at wherever!)…and I have to agree. But it is work. To find the deals you have to look. Over and over and over. Luckly I have eBay to sustain me between good deal for myself!

Today’s find was this:

IMG_5197

For $3.99 I got a microwavable $35.95 Pop corn popper. Which apparently is super healthy and organic and small enough to fit over my fridge!

And I love the way it looks! Beats the one my folks had while I was growing up:

Vintage WEAREVER Electric POPCORN PUMPER Hot Air Corn Popper Coffee Roaster Model 73000.

Oddly enough I had just decided that popcorn would be a great snack for the kids. I wanted to have a snack bin for all those “I’m hungry” times. We don’t do store bought snacks in our family and this will be a way to ‘splurge’. So on the way home I stopped by the grocery and purchased a pound of popcorn for $1.47.

IMG_5192

And the popper worked perfectly!!! This is 1/3 cup of popcorn!


When I finished bagging the popcorn I stuck all the kernels on the bottom back in the microwave.

IMG_5194

Waste not, want not!

IMG_5195

So I now have a nice snack stash for my 3 youngins’!

IMG_5196

Oh, and I popped the corn plain for now, but it does come with a lid for melting butter in it.

IMG_5198

I’m just not sure how the metal will do in the microwave…still doing research on why they made this with a metal lid, now they use all silicone lids.

IMG_5199

So that is my thrifty find for the family! How did you do?